Tile Resurfacing: Benefits and Process
Refresh, Restore, and Transform Your Tiles. Expert resurfacing for a modern, long-lasting finish.
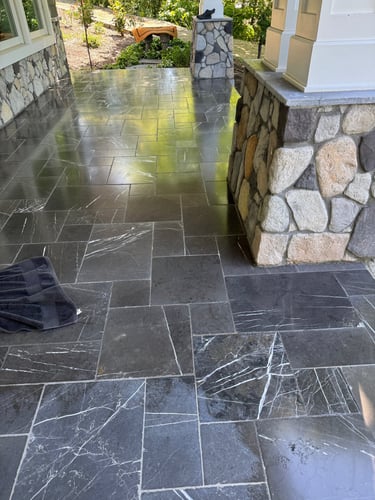
What is Tile Resurfacing?
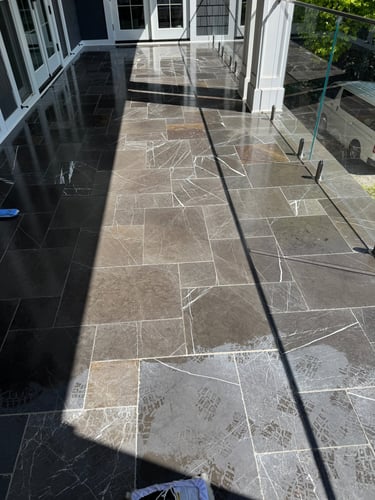
Tile resurfacing (also known as tile refinishing or reglazing) is the process of restoring worn, outdated, or damaged tiles by applying a durable coating, typically an epoxy or polyurethane-based product, to the tile surface. The process addresses issues like stains, chips, cracks, or dated colors while maintaining the integrity of the existing tiles. It can also include regrouting to refresh the grout lines for a seamless finish. For surfaces that need thorough cleaning before resurfacing, explore our tile cleaning services to ensure the best possible results.
Benefits of Tile Resurfacing
Cost-Effective: Tile Resurfacing is significantly cheaper than removing and replacing tiles, saving up to 70% of the cost of a full renovation.
Time-Saving: The process is quicker than a full tile replacement, often completed in 1–3 days depending on the area size.
Minimal Disruption: No demolition is required, reducing mess, noise, and downtime in the space.
Customisable Aesthetics: Resurfacing allows you to change the color, finish (matte, gloss, or satin), or even mimic high-end materials like marble or stone.
Durability: High-quality resurfacing coatings are resistant to water, stains, and wear, extending the life of tiles by years.
Eco-Friendly: By reusing existing tiles, resurfacing reduces waste compared to tearing out and disposing of old tiles.
Versatility: Suitable for various surfaces, including floors, walls, countertops, and even bathtubs or showers.
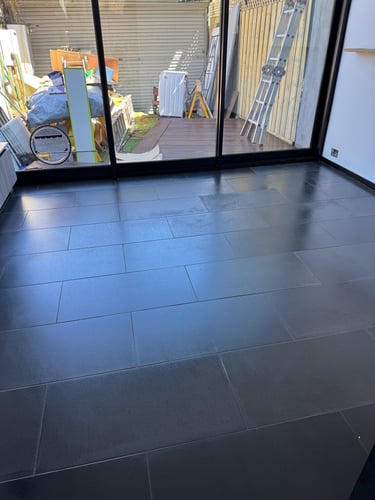
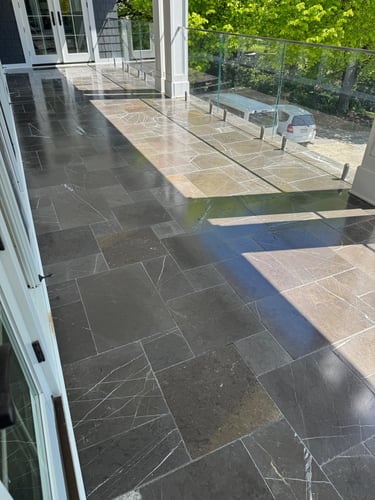
Overview
Tile resurfacing is a cost-effective and efficient way to refresh and restore existing tiles without the need for full replacement. The process involves thorough cleaning, minor repairs, and the application of a specialised coating or treatment to rejuvenate the surface, giving tiles a renewed appearance and extended lifespan. Commonly used on ceramic, porcelain, and natural stone tiles, tile resurfacing is ideal for bathrooms, kitchens, floors, and walls, and is professionally delivered by Melbourne Tile Tech.
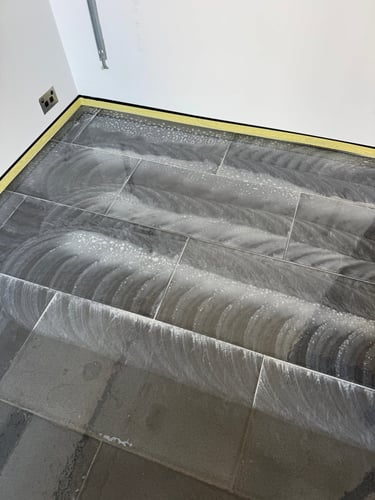
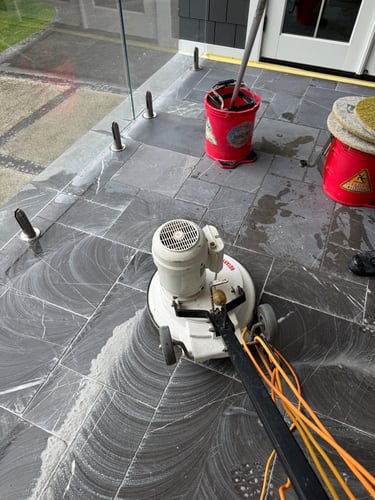


Tile Resurfacing Process
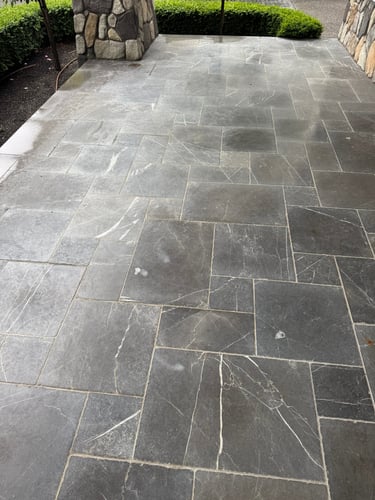
The Tile Resurfacing Melbourne process begins with a detailed inspection of tiles and grout to identify cracks, chips, or loose tiles. This is followed by deep cleaning to remove dirt, grease, soap scum, and mould. Necessary repairs are then completed, including filling cracks with epoxy, re-securing loose tiles, and renewing damaged grout.
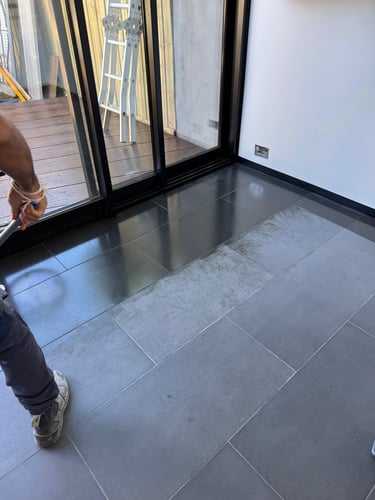
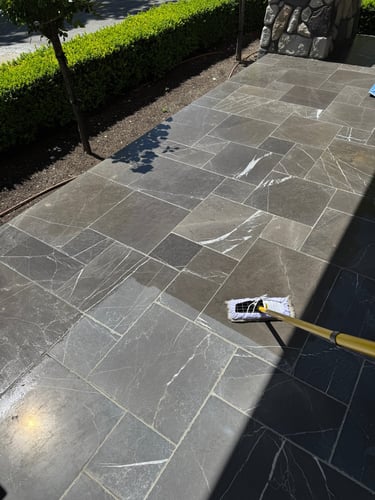
Once the surface is properly prepared, it is lightly sanded to improve adhesion, primed, and coated with multiple layers of durable epoxy or polyurethane. The coating is left to cure for 24 to 48 hours, followed by a final inspection, sealing, and clean-up to ensure a flawless, long-lasting finish delivered by the experienced team at Melbourne Tile Tech.
Important Considerations
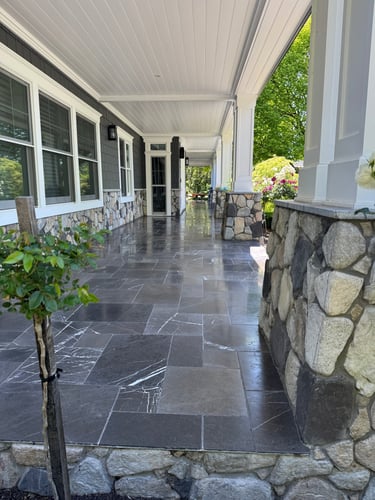
Resurfaced tiles can last 5 to 15 years with proper care and maintenance. This method is ideal for refreshing outdated tiles, restoring stained or worn surfaces, and achieving a modern look without the cost and disruption of full replacement. However, resurfacing is not suitable for tiles with structural damage.
Professional resurfacing delivers far better results than DIY solutions, providing a smoother finish and longer lifespan. Ongoing care, including regular cleaning with pH-neutral products, is essential and works best as part of a broader tile maintenance routine to preserve the finish over time.
Why Regular Tile Cleaning Matters for Healthy, Well-Maintained Surfaces
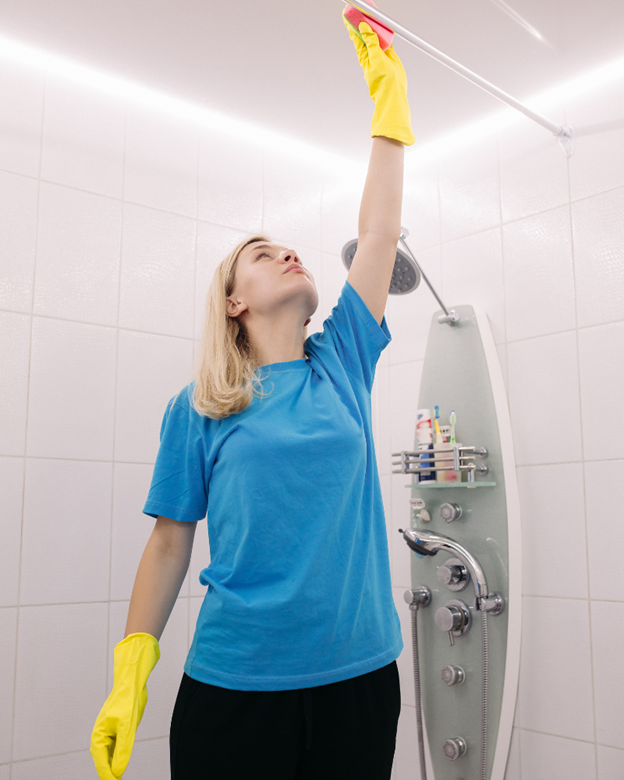
Give Your Bathroom Tiles a Clean New Surface
Bathroom tiles can fade, stain, or lose their shine over time. Bathroom Tile Resurfacing Melbourne offers a practical way to refresh them without removing the tiles. The surface is cleaned, small damage is repaired, and a new finish is applied. This process helps improve the look of bathroom walls, floors, and shower areas while keeping the original tiles in place.
Resurfacing helps cover marks, dull spots, and worn grout lines. The new surface is smooth and it is more convenient to clean it. Most homeowners prefer Bathroom Tile Resurfacing Melbourne to upgrade bathrooms without the expense and time of having to replace tiles.
Melbourne Tile Tech provides skilled tile resurfacing and restoration services across Melbourne, helping homes keep bathrooms clean, durable, and well-maintained
Services
© 2026. All rights reserved by Melbourne Tile Tech
ABN: 95 282 258 246
3 Lexi Pl Kilsyth VIC 3137
Head Office
Contact Us
About Melbourne Tile Tech
Melbourne Tile Tech is a professional tile and stone restoration company operating in Melbourne and surrounding areas. We specialize in cleaning, restoring, sealing, and maintaining tile, grout and natural-stone surfaces for residential and commercial clients.