
Caulking
Caulking is essential for sealing joints and maintaining clean, watertight surfaces. This guide covers what caulking is, why it matters, and how it protects your space.
What is Caulking?
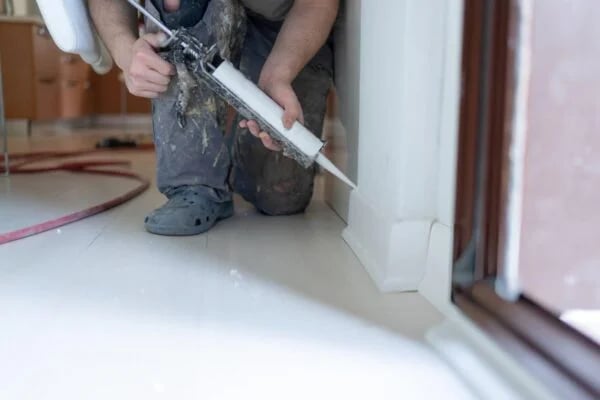
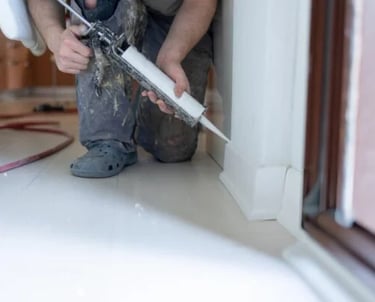
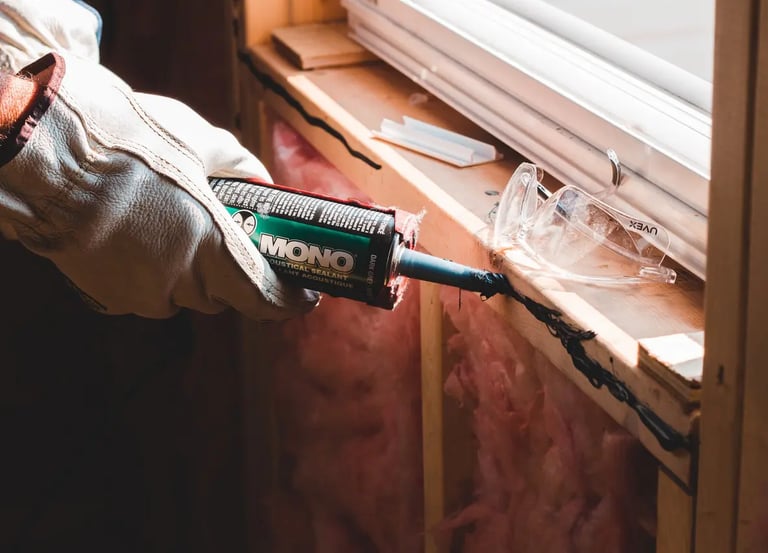
Caulking is the process of sealing joints or gaps between surfaces to prevent water, air, and dust from passing through. It is commonly applied around windows, doors, bathtubs, sinks, and floor-to-wall joints where movement and moisture are most likely to occur. Quality caulk, typically made from silicone or latex-based materials, creates a durable, watertight seal that helps protect surfaces from water damage, improves insulation, and delivers a clean, finished appearance.
For professional sealing solutions and long-lasting results, learn more about our expert caulking Services Melbourne and surface restoration solutions.

Types of Caulk
Silicone Caulk: Flexible, waterproof, and ideal for bathrooms, kitchens, and exteriors. Difficult to paint but highly durable.
Latex Caulk: Water-based, easy to apply, and paintable. Best for interior use but less durable than silicone.
Polyurethane Caulk: Strong, flexible, and weather-resistant, perfect for outdoor applications. Paintable.
Butyl Rubber Caulk: Excellent water resistance for outdoor tasks like roofing and gutters.
The Caulking Process
Preparation: Clean and dry the surface. Remove old caulk if necessary.
Loading: Place the caulk tube in a caulking gun and cut the tip at a 45-degree angle.
Application: Apply caulk at a steady, consistent pace to fill gaps.
Smoothing: Smooth the caulk with a wet finger or tool for a clean finish.
Curing: Allow caulk to cure fully latex (24 hours), silicone (24-48 hours), and polyurethane (up to 7 days).
Benefits of Caulking
Prevents Water Damage: Seals gaps to block water, reducing mold, rot, and structural harm.
Improves Energy Efficiency: Stops drafts and lowers heating and cooling costs.
Enhances Appearance: Fills gaps for a clean, polished look.
Blocks Dust and Pests: Prevents dust, insects, and rodents from entering.
When to Caulk
During new construction or renovations.
When old caulk cracks or peels.
Before painting for a smooth surface.
Seasonally, to maintain seals exposed to the elements.
Expert Tips
Choose the Right Caulk: Select the right type for the application.
Use Backer Rods: For large gaps, use foam backer rods to improve adhesion.
Apply Moderately: Don’t overapply too much caulk can create a mess.
Check Expiration: Expired caulk won’t perform well, so verify the date.
Services
© 2026. All rights reserved by Melbourne Tile Tech
ABN: 95 282 258 246
3 Lexi Pl Kilsyth VIC 3137
Head Office
Contact Us
About Melbourne Tile Tech
Melbourne Tile Tech is a professional tile and stone restoration company operating in Melbourne and surrounding areas. We specialize in cleaning, restoring, sealing, and maintaining tile, grout and natural-stone surfaces for residential and commercial clients.